Draw a Circle on a Surface in Another Class Pygame
In this article, we are going to see how to draw an object using Pygame. There can be ii versions for drawing any shape, it tin exist a solid one or just an outline of it.
Cartoon Objects and Shapes in PyGame
You can easily describe basic shapes in pygame using the draw method of pygame.
Drawing Rectangle shape:
To describe a rectangle in your pygame project you can use draw.rect() function.
Syntax: pygame.draw.rect(surface, color, rect, width)
Parameters:
- surface :- Here nosotros can pass the surface on which we desire to draw our rectangle. In the above example, nosotros created a surface object named 'window'.
- color :- Here we tin pass the color for our rectangle. Nosotros are using blue color in our instance.
- rect :- Here we tin can laissez passer the rectangle, position, and dimensions.
- width :- Hither nosotros can pass the line thickness. we tin too create a solid rectangle past changing the value of this width parameter. So let's expect at that.
First, import the required module and initialize pygame. Now, Create the surface object of a specific dimension using the brandish.set_mode() method of pygame. Fill the background of the surface object with white color using the make full() function of pygame. Create a rectangle using the draw.rect() method of pygame. Update the Surface object.
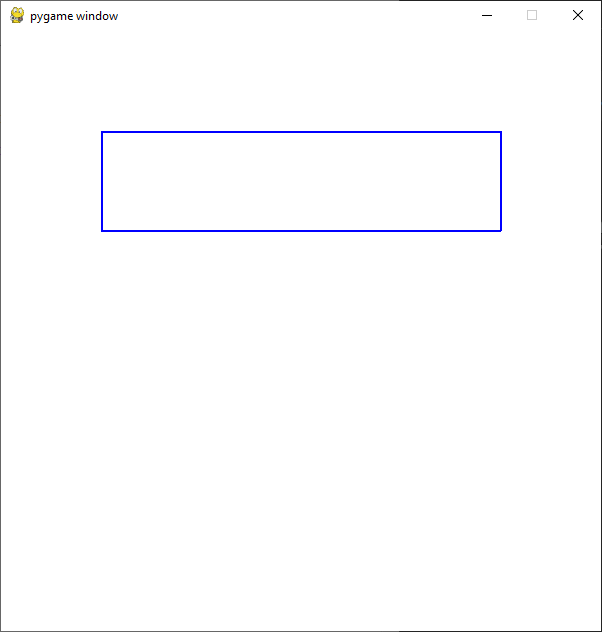
Example 1: Cartoon outlined rectangle using pygame.
Python3
import pygame
from pygame. locals import *
pygame.init()
window = pygame.display.set_mode(( 600 , 600 ))
window.fill(( 255 , 255 , 255 ))
pygame.draw.rect(window, ( 0 , 0 , 255 ),
[ 100 , 100 , 400 , 100 ], ii )
pygame.display.update()
Output :
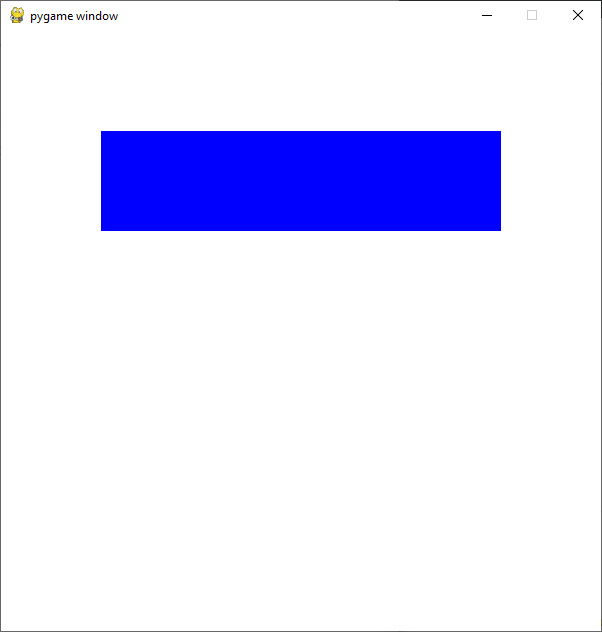
We tin create a solid rectangle by setting the width parameter equal to 0 and the rest of the approach remains the aforementioned.
Example 2: Drawing a solid rectangle.
Python3
import pygame
from pygame. locals import *
pygame.init()
window = pygame.display.set_mode(( 600 , 600 ))
window.fill(( 255 , 255 , 255 ))
pygame.draw.rect(window, ( 0 , 0 , 255 ),
[ 100 , 100 , 400 , 100 ], 0 )
pygame.display.update()
Output :
Drawing Circle Shape:
To depict a circle in your pygame project you can use draw.circle() function. The entire approach is the aforementioned equally above merely the part and parameters are changed accordingly.
Syntax : pygame.draw.circle(surface, color, centre, radius, width)
Parameters :
- surface :- Hither we can pass the surface on which we want to draw our circle. In the to a higher place example, we created a surface object named 'window'.
- colour :- Here we can pass the color for our circle. We are using light-green color in our example.
- center :- Here nosotros tin can pass the ( x, y ) coordinates for the center of the circle.
- radius :- Here we tin pass the radius of our circumvolve.
- width :- Here we tin laissez passer the line thickness. nosotros can also create a solid circle by changing the value of this width parameter. And then let's look at that.
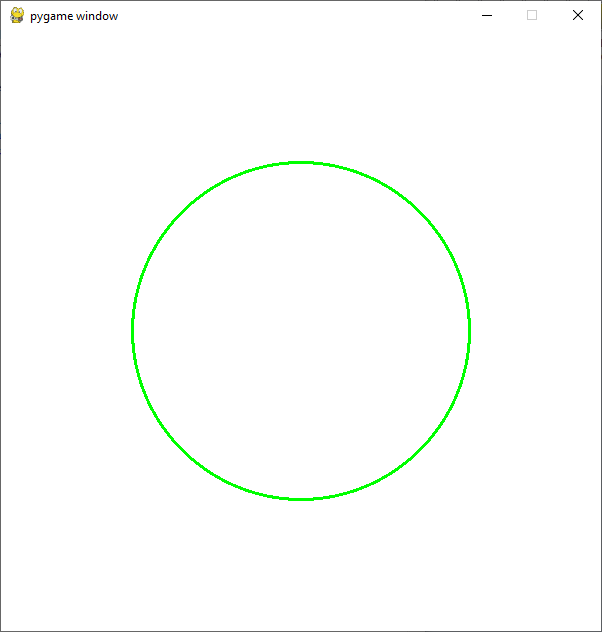
Case i: Drawing a hollow circle.
Python3
import pygame
from pygame. locals import *
pygame.init()
window = pygame.display.set_mode(( 600 , 600 ))
window.fill(( 255 , 255 , 255 ))
pygame.describe.circle(window, ( 0 , 255 , 0 ),
[ 300 , 300 ], 170 , 3 )
pygame.display.update()
Output :
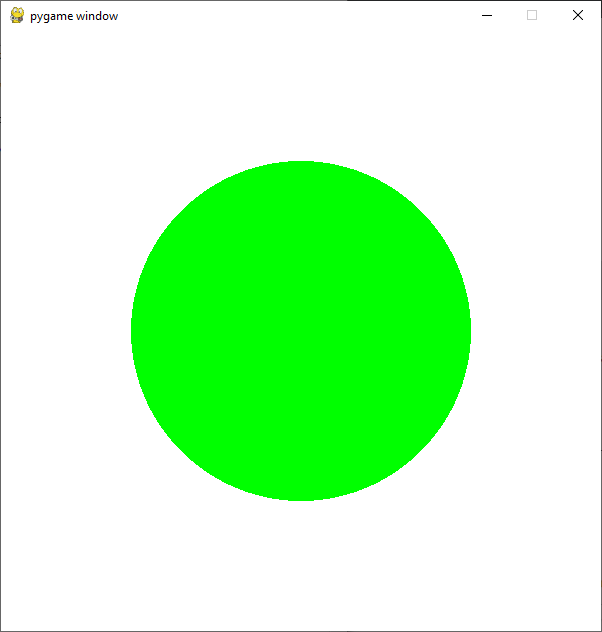
We can create a solid circumvolve by setting the width parameter equal to 0.
Example 2: drawing a solid circle
Python3
import pygame
from pygame. locals import *
pygame.init()
window = pygame.brandish.set_mode(( 600 , 600 ))
window.fill(( 255 , 255 , 255 ))
pygame.depict.circle(window, ( 0 , 255 , 0 ),
[ 300 , 300 ], 170 , 0 )
pygame.display.update()
Output :
Similarly, yous tin draw other basic shapes using the draw module of pygame.
Drawing Polygon Shape:
The desired polygon can exist fatigued using polygon() office.
Syntax: polygon(surface, colour, points, width)
Again the approach remains the same just the part and the parameters alter.
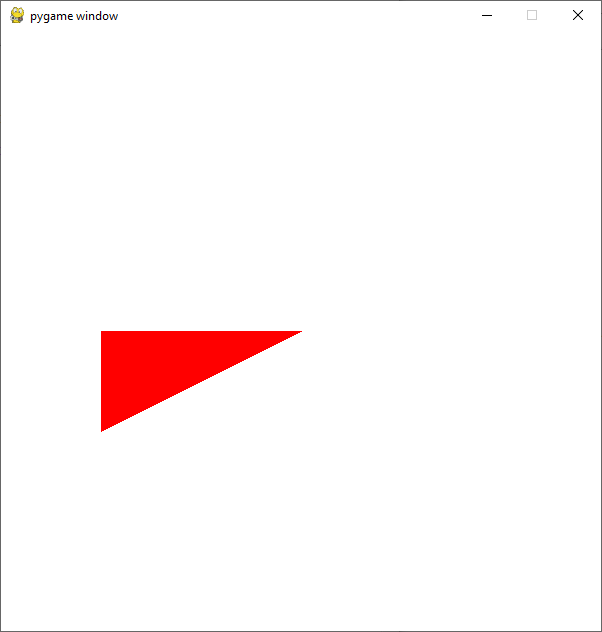
Example 1: cartoon a solid polygon
Python3
import pygame
from pygame. locals import *
pygame.init()
window = pygame.display.set_mode(( 600 , 600 ))
window.make full(( 255 , 255 , 255 ))
pygame.draw.polygon(window, ( 255 , 0 , 0 ),
[[ 300 , 300 ], [ 100 , 400 ],
[ 100 , 300 ]])
pygame.brandish.update()
Output :
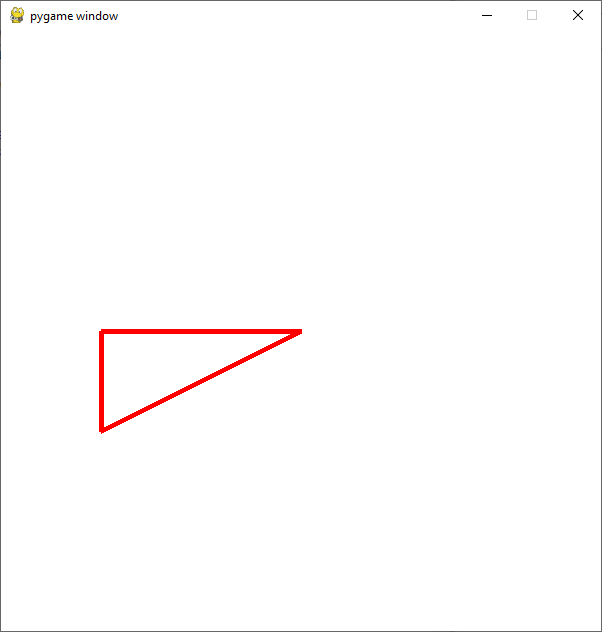
Instance 2: Drawing a hollow polygon
Python3
import pygame
from pygame. locals import *
pygame.init()
window = pygame.display.set_mode(( 600 , 600 ))
window.fill(( 255 , 255 , 255 ))
pygame.draw.polygon(window, ( 255 , 0 , 0 ),
[[ 300 , 300 ], [ 100 , 400 ],
[ 100 , 300 ]], 5 )
pygame.display.update()
Output:
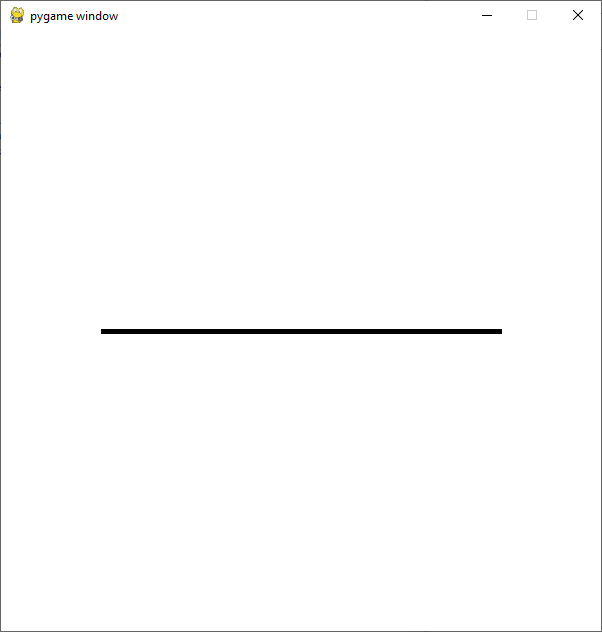
Cartoon Line Shape:
A line is the almost basic drawing entity and can be fatigued in pygame using line() function.
Syntax : pygame.draw.line(surface, colour, start_pos, end_pos, width)
Example 1: cartoon a line
Python3
import pygame
from pygame. locals import *
pygame.init()
window = pygame.brandish.set_mode(( 600 , 600 ))
window.fill(( 255 , 255 , 255 ))
pygame.draw.line(window, ( 0 , 0 , 0 ),
[ 100 , 300 ],
[ 500 , 300 ], five )
pygame.display.update()
Output:
Draw Multiple Shapes:
You can describe multiple shapes on the aforementioned surface object. For that, the first required modules are imported and pygame is initialized. Now, create the surface object of a specific dimension using the display.set_mode() method of pygame. Fill up the groundwork of the surface object with white color using the fill() function of pygame. Create required shapes are described in a higher place. Update the Surface object
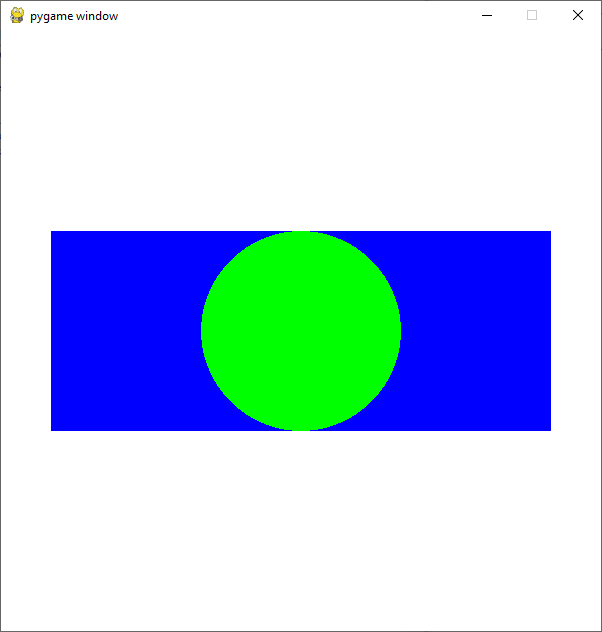
Case 1: Drawing a circle inside a rectangle.
Python3
import pygame
from pygame. locals import *
pygame.init()
window = pygame.brandish.set_mode(( 600 , 600 ))
window.fill(( 255 , 255 , 255 ))
pygame.draw.rect(window, ( 0 , 0 , 255 ),
[ fifty , 200 , 500 , 200 ])
pygame.draw.circle(window, ( 0 , 255 , 0 ),
[ 300 , 300 ], 100 )
pygame.display.update()
Output:
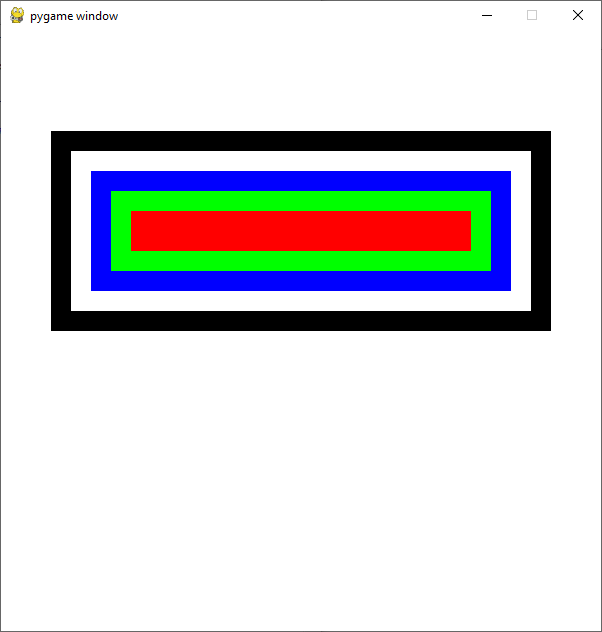
Example 2: Cartoon rectangles inside i another.
Python3
import pygame
from pygame. locals import *
pygame.init()
window = pygame.brandish.set_mode(( 600 , 600 ))
window.fill up(( 255 , 255 , 255 ))
rectangle_list = [pygame.Rect( 50 , 100 , 500 , 200 ),
pygame.Rect( lxx , 120 , 460 , 160 ),
pygame.Rect( 90 , 140 , 420 , 120 ),
pygame.Rect( 110 , 160 , 380 , 80 ),
pygame.Rect( 130 , 180 , 340 , forty )
]
color_list = [( 0 , 0 , 0 ),
( 255 , 255 , 255 ),
( 0 , 0 , 255 ),
( 0 , 255 , 0 ),
( 255 , 0 , 0 )
]
color_var = 0
for rectangle in rectangle_list:
pygame.depict.rect(window, color_list[color_var],
rectangle)
color_var + = one
pygame.brandish.update()
Output :
Writing your own drawing functions:
You can easily create your own specialized drawing functions in pygame.
This can be washed past following the given procedure. Create a drawing function that will take starting position, width, and height equally parameters. Draw required shapes are described above. Telephone call the drawfunction()
Python3
import pygame
from pygame. locals import *
def drawingfunction(x, y, width, meridian):
pygame.draw.rect(window, ( 0 , 0 , 255 ), [x, y, width, height])
circle_x = width / 2 + x
circle_y = acme / 2 + y
if elevation < width:
radius = meridian / 2
else :
radius = width / 2
pygame.draw.circle(window, ( 0 , 255 , 0 ), [circle_x, circle_y], radius)
pygame.init()
window = pygame.display.set_mode(( 600 , 600 ))
window.fill(( 255 , 255 , 255 ))
drawingfunction( 50 , 200 , 500 , 200 )
pygame.brandish.update()
Output:
Drawing shapes with the mouse:
Now allow'due south see how nosotros tin create shapes whenever the user clicks the mouse. We are going to create circles in the side by side case but you tin can create whatsoever shape y'all want.
Create a list to store the position of the shape to be drawn. Create a variable to store the color of the shape. Create a variable which we will utilize to run the while loop and Create a while loop. Iterate over all the events received from pygame.event.get(). If the blazon of the event is quit and then setting the run variable to false. If the type of the event is MOUSEBUTTONDOWN ( this event occurs when a user presses the mouse button) then getting the current position in a variable so appending that position in our circle_positions list. Iterate over all the positions in of the array created using a for a loop. Keep drawing the shape. Update the surface object.
Python3
import pygame
from pygame. locals import *
pygame.init()
window = pygame.display.set_mode(( 600 , 600 ))
window.fill(( 255 , 255 , 255 ))
circle_positions = []
circle_radius = 60
color = ( 0 , 0 , 255 )
run = Truthful
while run:
for effect in pygame.upshot.go():
if issue. type = = QUIT:
run = Faux
elif result. type = = MOUSEBUTTONDOWN:
position = event.pos
circle_positions.append(position)
for position in circle_positions:
pygame.draw.circle(window, color, position,
circle_radius)
pygame.display.update()
Output:

Source: https://www.geeksforgeeks.org/pygame-drawing-objects-and-shapes/
Post a Comment for "Draw a Circle on a Surface in Another Class Pygame"